What does Cloud syncing do?
Two main benefits:
- It backs up all your songs and set lists in your OneDrive and/or Google Drive storage. If you lose your device, or reinstall it, you won’t lose your data.
- If you own more than one device, all your songs and set lists are automatically synced between them, so there’s no longer a need to keep exporting and importing manually.
Syncing will happen automatically in the background whenever you make a change to your songs or set lists, so you don’t have to do anything after setting it up. If you need to manually trigger a sync, you can do that from the syncing panel once syncing is set up.
Turning syncing on
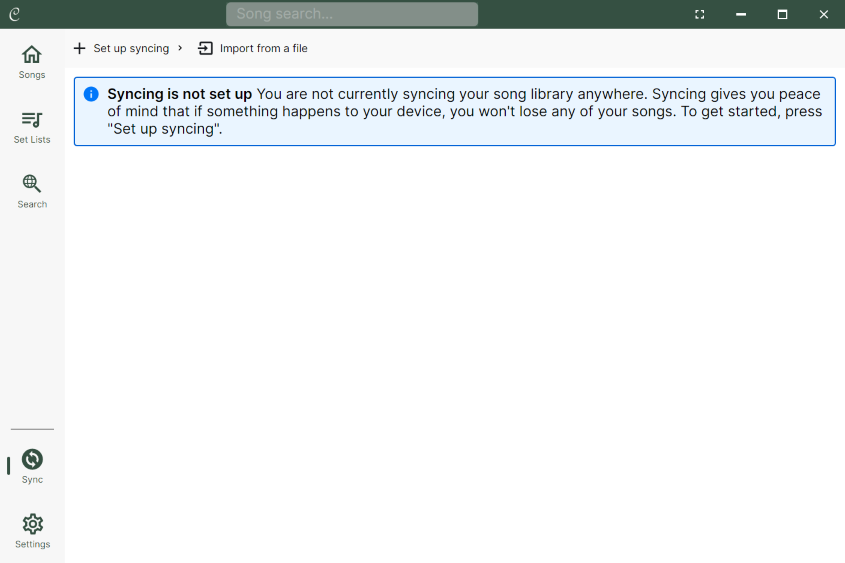
To turn cloud syncing on, open the sync panel:
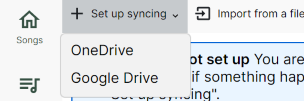
From there, choose which service you want to sync with and follow the instructions to sign in and grant Chordle access to your storage. Once you’ve done that, syncing will start automatically:
If you have a very large song library, it may take a while to complete the initial sync - subsequent syncs will be much faster.
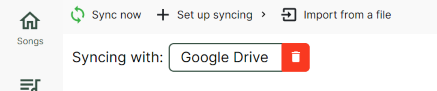
Currently active sync services are shown at the top of the sync panel. You can have both OneDrive and Google Drive syncing active at the same time if you want to back up to both services.
Turning syncing off
If you need to stop syncing, you can do that from the sync panel by tapping the red delete button next to the service you want to stop syncing with. This will stop syncing with that service. Data that has already been synced to that service will not be deleted, so if you turn syncing back on later, it will pick up where it left off.